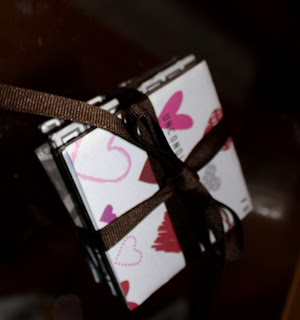
The kids and I really enjoy making these decorative tiles, they can be used for coasters
or you can hang them on the wall or use a clothes pin and some wood glue and they can be set up anywhere!
They are so cute, easy and very affordable to make!
Ashtyn and I made a few sets for gifts this year, here's what we did!
Supplies:
Tiles (We got ours from Menard's, you can buy them from any hardware/home store)
Scrapbook Paper
Paper Cutter (Rotary Cutter, scissors)
Ruler
Mod Podge
Paint Brush
*Gems/Ribbon, ect. Ashtyn likes to decorate hers a little more than just the paper :)
WHAT TO DO:
1. Cut out your scrapbook paper to fit the tiles
2. Put a THIN layer of Mod Podge on the tile
(note-- make sure to not use to much or your paper will bubble)
3. Place the scrapbook paper onto the tile rub it until smooth
4. Place a layer of Mod Podge over the entire title.
5. Let dry (if wanted you can decorate with gems/ribbons/ect.
6. Repeat with another layer of Mod Podge
7. Let dry for 30 min.
 |
| A few of Ashtyn's finished tiles |
 |
| Titles that we bought from Menard's |
 |
| I have found using a roatary cutter and large ruler is the quickest and easist way to do this! |
 |
| Paint on the mod podge then add your paper, then paint another layer of mod podge! |
 |
| Press down the paper, get out all those bubbles! |
 |
| Woala! Finished products! GREAT GIFTS :) |

No comments:
Post a Comment